Add a searchable map of your locations to any Webflow page in a single paste. Your Storepoint locator updates straight from your dashboard whenever your locations change, so the design you built stays exactly as you built it.
Use it as a multi-location map, dealer locator, provider directory, service-area page, or stockist directory. Drops into Webflow's Embed component anywhere on a page, or syncs from a Webflow CMS Collection so updates in your CMS flow into the locator on their own.
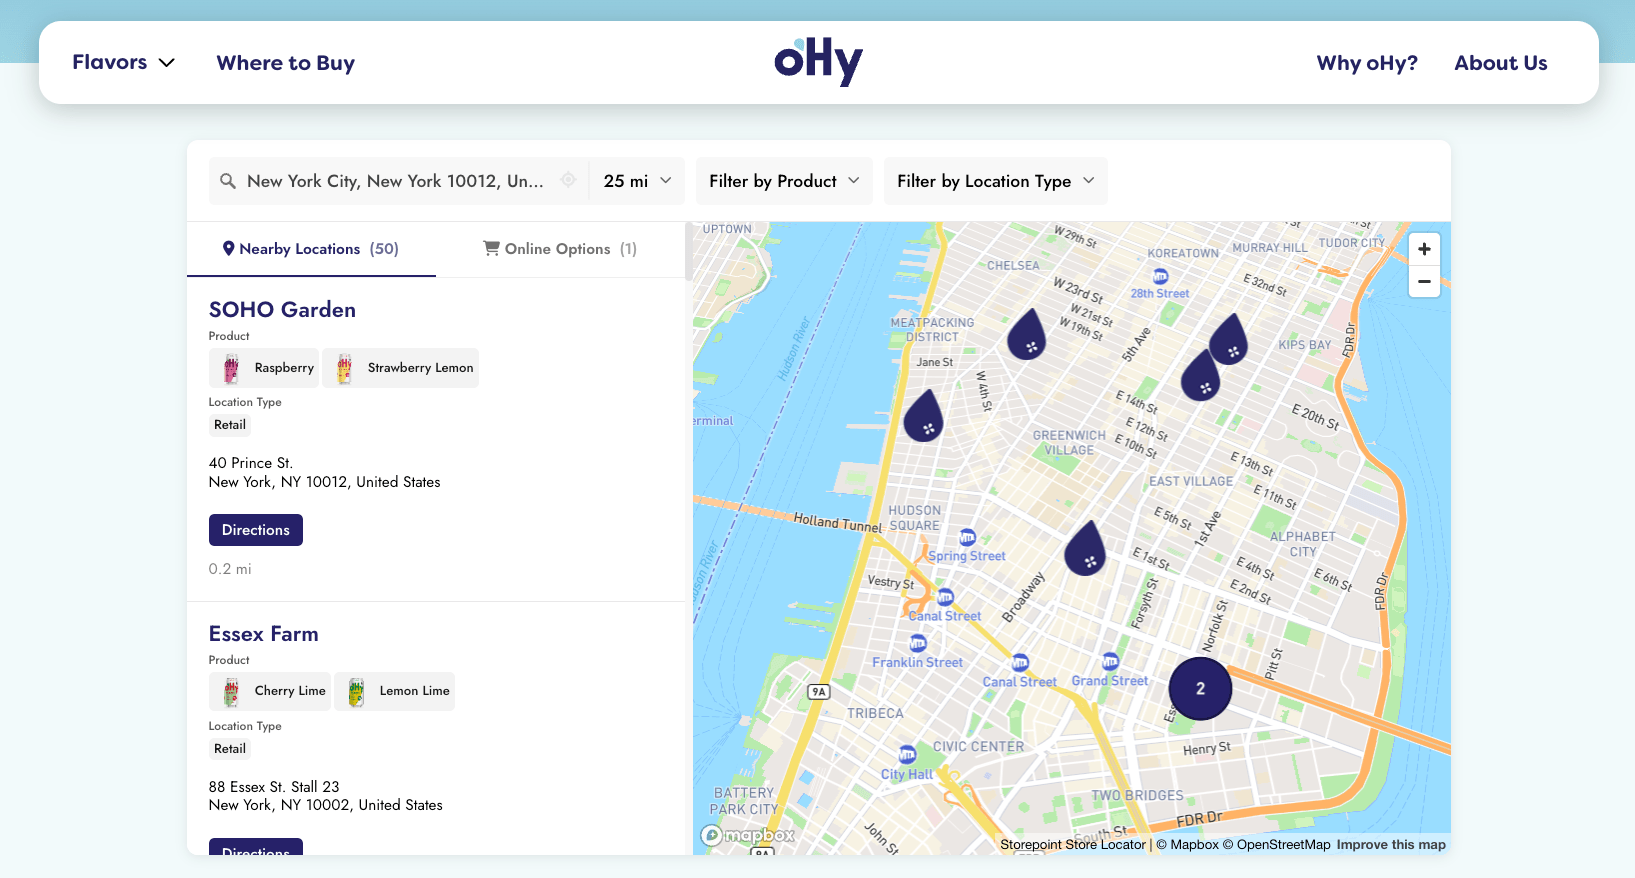
Start your free trial See examples
Step 1: Set up your locator
- Create a Storepoint account and follow the prompts (you'll pick a map provider and a few basics), or log in if you already have one
- Add your locations: type them in, import a spreadsheet, or sync from Google Sheets
- Open Embed in the dashboard sidebar and copy your snippet
Step 2: Add it into any Webflow page
- Open your project in the Webflow Designer
- Go to the page where the locator should live (or create a new one named "Locations" or "Find Us")
- Hit A (or click + in the top toolbar) to open the Add panel
- Scroll to Components > Embed (formerly under "Advanced > Custom Code")
- Drag Embed onto your page where you want the locator
- Paste your Storepoint snippet
- Click Save & Close
Webflow renders the Embed as a grey block while you're designing. The real locator appears in Preview and on your published site.
Step 3: Publish
- Click Publish in the top right
- Select your domain(s) and hit Publish to Selected Domains
- Open the live page and try a search
That's the full setup. From here, every location update flows through your Storepoint dashboard. Your Webflow page stays exactly as you built it.
Embedding inside Rich Text
If you want the locator inline within a CMS-driven blog post or rich text block:
- Place the cursor where the locator should appear
- Click the + to open the insert menu
- Choose Custom Code
- Paste your Storepoint snippet
This works inside both static Rich Text elements and Rich Text bound to a CMS field.
Sync from Webflow CMS
If your locations are already in a Webflow CMS Collection (with addresses or lat/lng), you can sync them to Storepoint and skip the manual entry. Updates in your CMS flow into the locator.
Match your design
Style it yourself from the dashboard: map style, marker pins, colors, button shapes, layout. Full CSS access is open on every plan.
Send us your Webflow site link and we'll match the locator to your design system. Fonts, colors, layout, button shapes. Free with every plan. See examples →
Got a question?
Drop us a line at [email protected]. We read every message and reply ourselves.
Beyond the basics
- Sync locations from a Webflow CMS Collection
- Filters and tags for service or category narrowing
- Map styles and custom pins from the dashboard
- Custom CSS for total control
- Real Webflow locators for inspiration