With Storepoint, you can select different color map pins for each tag or you can upload a custom .png icon for each tag/category.
1. What makes a good map marker icon?
If you're interested in simply using different colors for each pin, feel free to skip this step.
Make sure you have a simple icon, in .png format, with smooth edges prepared for each tag/category. A good size ranges anywhere from 40x40 pixels to 60x60 pixels. Once you have an icon like this, you're ready to upload. Get in touch with us if you have any questions about creating a great map marker icon.
2. Make sure you've tagged your locations with categories
When adding or editing a location, use the "Location Categories/Tags" field to tag your location by category, type, etc... To add a tag, simply type it in and press enter to add it - it will then show up as a tag, just like you see in the screenshot below.

Location tags and categories can also be added via the CSV bulk upload. Simply add a comma separated list of tags/categories for each location under the tags column in the CSV template.
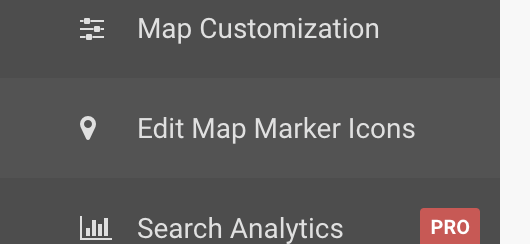
3. In the Storepoint dashboard, find the "Edit Map Marker Icons" page.

4. Upload your custom icons or select pin colors
 We will be working with the rows under the heading, "Map marker colors or custom map marker icons for each location category/tag".
Custom colors: If you'd like to select custom colors for each pin, simply click on the colorful square and select a color, then click "Save". Repeat this step for each tag.
Custom icons: For each tag, select "Choose File", navigate to your .png format icon for that tag and once selected, simply click "Upload Icon".
All Done!
If you have any questions, feel free to reach out!