Add a locator map to any Elementor page in a single paste. Your Storepoint locator updates straight from your dashboard whenever your locations change, so the page you designed stays exactly as you designed it.
Use it as a store locator, dealer locator, stockist page, restaurant finder, searchable multi location map or provider directory for clinics, salons, and other service businesses. Drops into Elementor's HTML widget on Free, Pro, and the Hello theme. Or use the Storepoint WordPress plugin for [storepoint] shortcode support on multilingual sites.
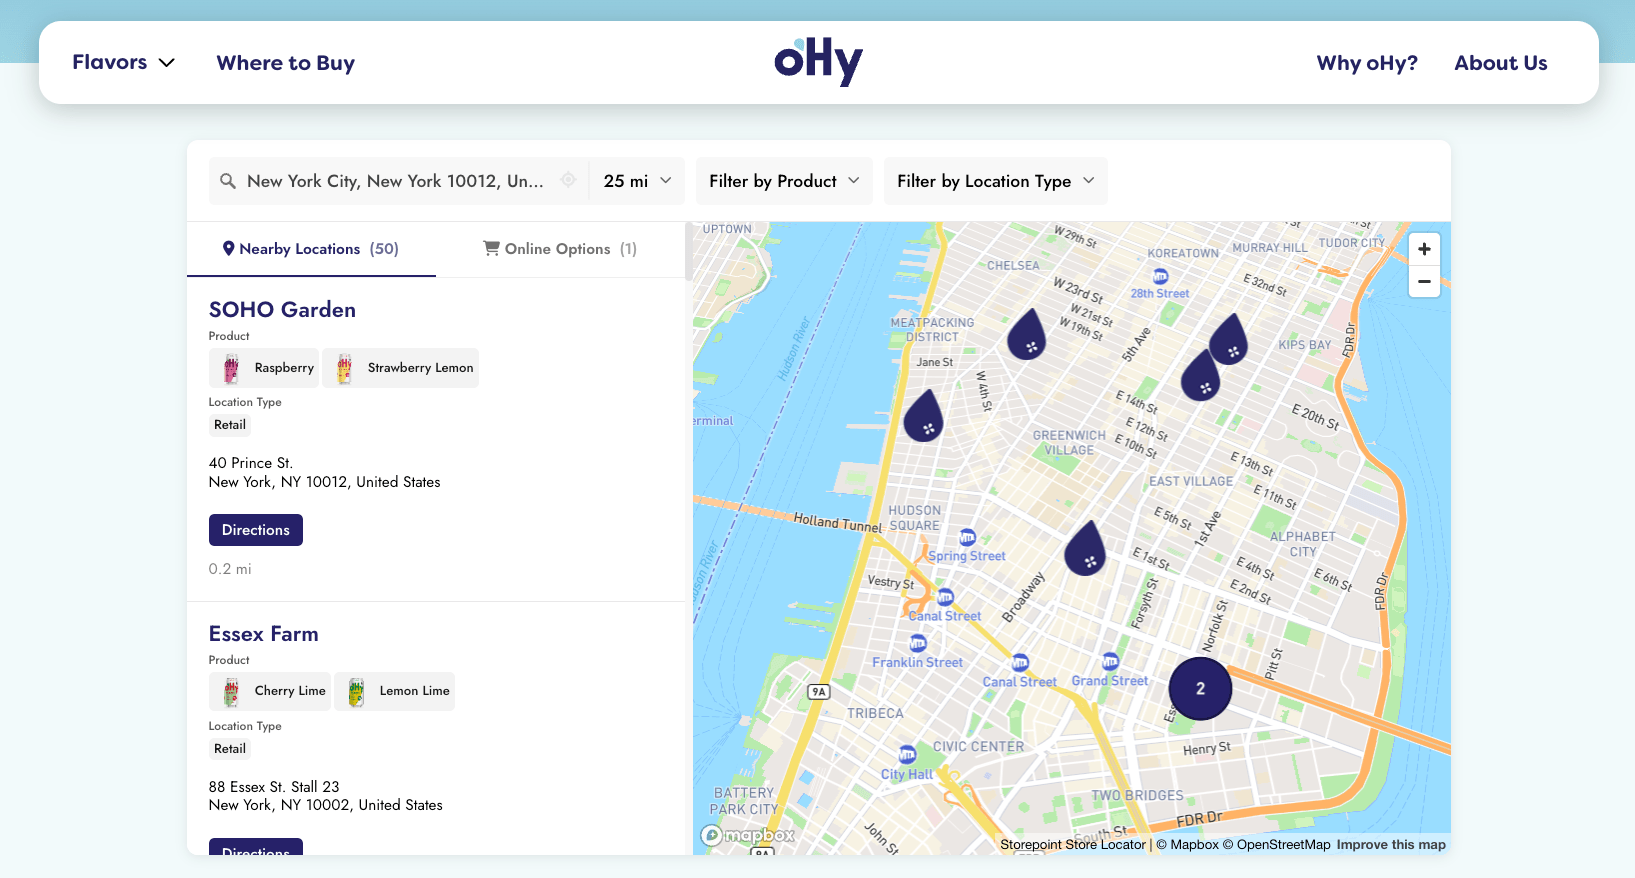
Start your free trial See examples
Step 1: Set up your locator
- Create a Storepoint account and follow the prompts (you'll pick a map provider and a few basics), or log in if you already have one
- Add your locations: type them in, import a spreadsheet, or sync from Google Sheets
- Open Embed in the dashboard sidebar and copy your snippet
Step 2: Add the HTML widget
- In WordPress, go to Pages and edit your locator page (or Add New and name it "Find Us", "Locations", "Store Locator")
- Click Edit with Elementor
- In the left widget panel, search for HTML
- Drag the HTML widget where you want the locator
- Paste your Storepoint snippet into the HTML Code field
- Click Update
The locator renders right in the Elementor preview. If it doesn't show up, see the note just below.
Elementor restricts the HTML widget to administrators by default. If you don't see it, ask your site admin to grant access in Elementor > Role Manager.
Prefer a shortcode? Use our WordPress plugin
Good fit for multilingual sites, multi-page filtered locators, and teams that want to manage the token in one WordPress place.
- Install the Storepoint WordPress plugin from your admin (Plugins > Add New, search "Storepoint")
- Open Settings > Storepoint and paste your Public Locator Token
- In the Elementor editor, drag in the HTML or Shortcode widget and add
[storepoint]
Add filters or auto-detect language with attributes:
[storepoint tags="dealer,premium" language="auto" hide_filters="true"]
The plugin auto-detects WPML and Polylang on multilingual pages. Different pages can show different filtered views by changing the tags attribute.
Step 3: Publish, view, search
- Click Update to save
- Open the page on your live site
- Try a search to confirm the map and list load
That's the full setup. From here, every location update flows through your Storepoint dashboard. Your Elementor design stays exactly as you built it.
Make it full width
Elementor wraps content inside its Section layout, which often inherits a sidebar from your theme. To stretch:
- Click the section that contains the HTML widget
- Open the Layout tab in the section settings
- Set Content Width to Full Width (or set the column width to 100%)
- Toggle Stretch Section on
- Hit Update
If your theme still adds a sidebar, switch the page template to Elementor Full Width or Elementor Canvas under Page Attributes in the WordPress page settings.
If your locator doesn't show up after pasting
Most likely it's your cache holding the old version of the page. Open your caching plugin (WP Rocket, W3 Total Cache, LiteSpeed Cache) or your host's cache panel (Kinsta, WP Engine, SiteGround) and click Purge once. Reload the page.
Match your theme
Style it yourself from the dashboard: map style, marker pins, colors, button shapes, layout, custom CSS. Full CSS access is open on every plan.
Send us your site link and we'll match the locator to your Elementor design. Fonts, colors, button radius, header behavior. Comes with every plan. See examples →
Need a hand?
Email [email protected] with your page link. The reply comes from someone who knows Elementor inside-out, no canned answer.
Take it further
- Filters and tags so visitors can narrow by category, brand, or service
- Map styles and custom pins from the dashboard
- Custom CSS for total control
- Embed options for filtered or multilingual locators
- Real Elementor locators for inspiration