Add a beautiful store locator to your website in minutes. Everything happens in a simple dashboard, then you paste one snippet onto your site.
Storepoint works on any website: Shopify, WordPress, Squarespace, Wix, Webflow, custom builds, and more. Works as a store finder, where-to-buy page, dealer locator, service area map, or provider directory.
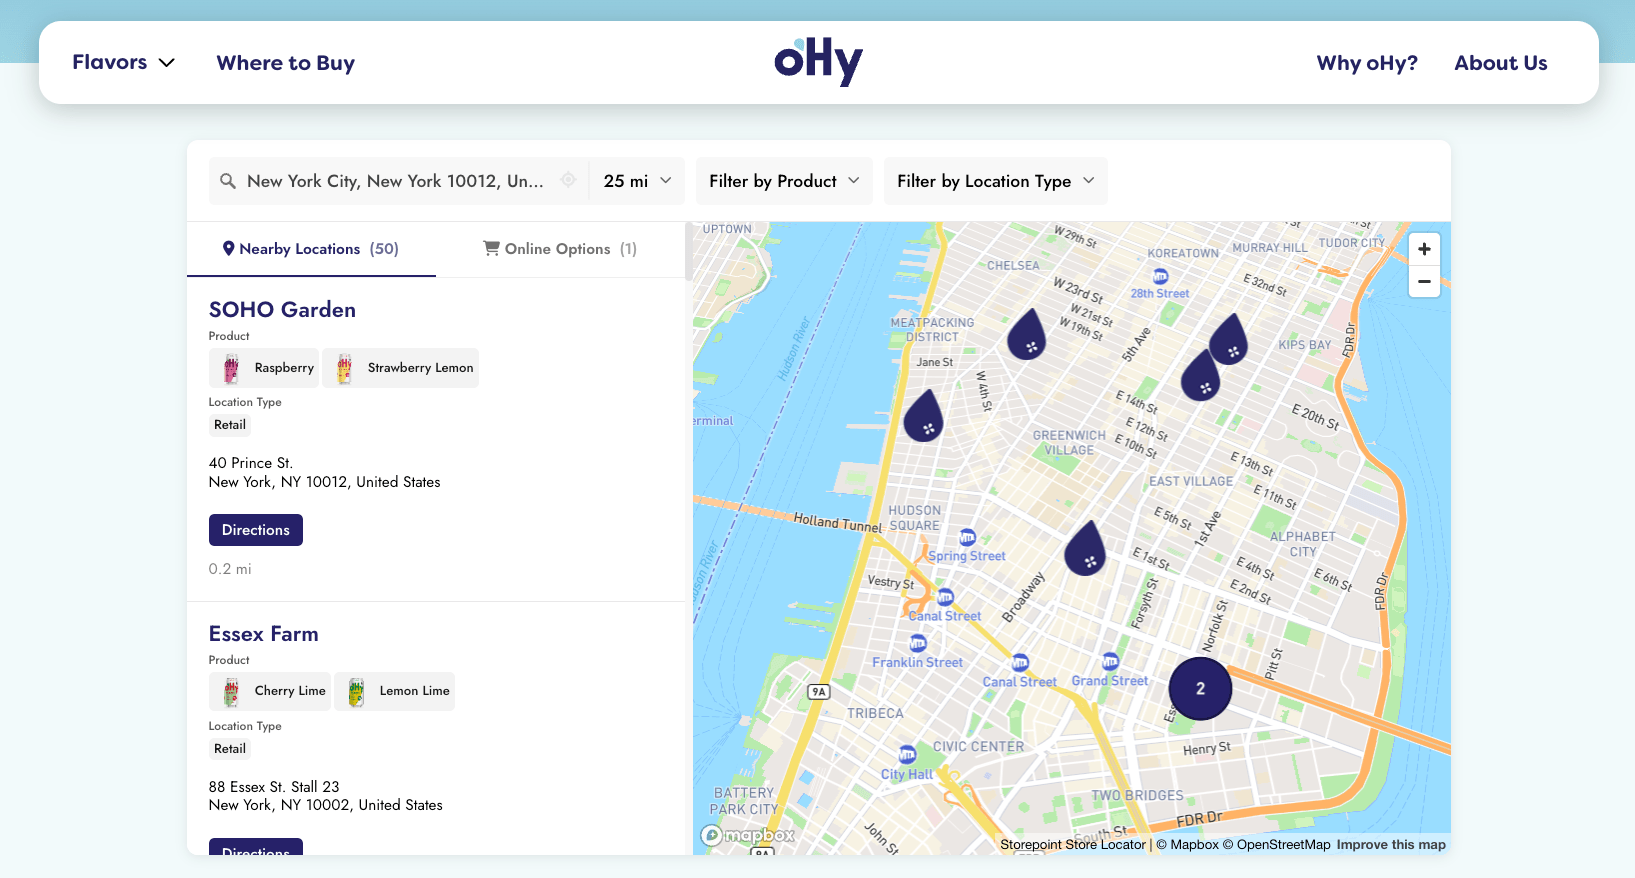
Start a free 7-day trial See store locator examples
7-day free trial. Plans from $25/month after.
After you sign up, three steps from here:
Step 1: Add Your Locations
Open Manage Locations in your dashboard and add your stores, dealers, stockists, or service locations. Three ways:
- One by one. Click Add Location and fill in the details.
- Spreadsheet upload. Drag in a CSV or Excel file with your list.
- Google Sheets sync Pro. Connect a sheet and your locator picks up changes on its own. Teams that update often live in this one.
A name and address is all you need. We map each one for you. Two more things to set up while you're adding them:
- Tag them with anything visitors might filter by: products, services, dealer tiers, location types, or status flags like Featured or Coming Soon. These become filter groups in step 3.
- Add custom fields for anything you want on the location card: action buttons (Book Now, Order Online, Buy on Amazon), social icons, photos, opening hours, or text fields (descriptions, manager names, certifications). See Custom Fields.
Skip these for now. Add or change them anytime.
Want more automation? Webhooks, scheduled imports, and a full REST API are all available. See Developer APIs, or chat with us about syncing directly from your CRM, ERP, or any tool you already use.
Step 2: Add It to Your Website
- Open Embed in your dashboard
- Copy the snippet
- Paste it onto a page of your website
Refresh your live site and your locator is there.
Step-by-step for your platform
Shopify · WordPress · Squarespace · Wix · WooCommerce · BigCommerce · Magento · Webflow · Framer · React/Next.js
Don't see your platform? The general embed guide covers everything else.
Step 3: Make It Yours
Open Appearance in your dashboard to customize how everything looks:
- Match your brand. Fonts, colors, button shapes, map theme. Widget Settings.
- Custom buttons per location. Book Now, Order Online, Buy on Amazon, call links, social icons, anything you want. Custom Fields.
- Additional info per location. Descriptions, contact details, manager names, certifications, or any text field on the location card. Custom Fields.
- Filters and tags. Filter by products, services, dealer tiers, or any tag you set. Color-code each tag, add a small image (product photo, service icon, tier badge), and show it in filters, on cards, or on the map. Filters and Tags.
- Custom map markers. Your own pin icons, or different markers per location type, dealer tier, or product line. Custom Map Markers.
- Search behavior. Default radius, distance units, autocomplete, and GPS auto-detect. Search Settings.
- Mobile. Responsive on every device.
Once set up, any changes you make in your dashboard sync to your locator automatically.
Send us your website URL and we match the locator to your design: fonts, colors, button radius, layout. Free on every plan, 5 locations or 5,000. [email protected]
What's Next
When you're ready for more:
- Opening hours with live open-now status that updates on its own
- Multiple languages with auto-detection per visitor
- Pre-filtered embeds for product or dealer-specific pages
- Spotlight territory rules for B2B dealer routing
- Online stores to show online options alongside physical stores or when none are nearby
- Developer APIs and webhooks for custom integrations
Building something specific? See the Where-to-Buy guide for CPG brands, the Dealer Locator with Territories guide for manufacturer dealer networks, or the Service Area Locator guide for contractors and mobile services.
Common Questions
How long does setup take?
Most stores are live in about 15 minutes. Faster if you've got a CSV ready.
How much does a store locator cost?
From $25/month after a 7-day free trial. Plans scale with how many locations and features you need. See full pricing.
Do I need to know how to code?
No. Everything is dashboard-based and adding it to your site is a single snippet. We have step-by-step guides for every major platform:
Shopify · WordPress · Squarespace · Wix · WooCommerce · BigCommerce · Magento · Joomla · Elementor · Webflow · Framer · Weebly · Drupal · Ghost · HubSpot · Carrd · Duda · React/Next.js
For anything else, the general embed guide covers it.
Will it work on mobile?
Yes. Fully responsive on phones, tablets, and desktops, with your site's mobile breakpoints picked up automatically.
Can I customize it to match my brand?
Yes. Customize fonts, colors, button styling, and map theme in the dashboard. Or send us your site URL and we'll brand-match it for you, free on every plan.
Can I show hundreds or thousands of locations?
Yes. The Business plan supports unlimited pins. Marker clustering keeps the map clean at any zoom level.
Does it support multiple languages?
Yes. Translate every label, button, search placeholder, and tag once in your dashboard Pro. The locator picks the right language per visitor on its own. See the Multilingual Store Locator guide.
Start Your Locator
Brands like Brooklyn Hot Dog Co., oHy, Tessake, Spindrift, and Two Fussy Blokes use Storepoint as their store locator, dealer locator, where-to-buy page, or stockist directory. See how they look.
Already signed up? Follow the Quick Start Guide from your dashboard.
For a broader view, see Choosing the Right Store Locator.
Questions before signing up? Email us. Small team, real replies, usually within a few hours.