1. Tag locations when adding or uploading
When uploading or adding locations, simply make sure to fill the "tags" column with the tag or comma separated tags for each location. This can be the location type if you wish to have a filter setup on type, products for a filter on products, etc...
- Note: If using our dashboard location management editor rather than CSV bulk upload or google sheets sync, make sure to press "enter" on your keyboard after typing in each tag in the categories/tags field.
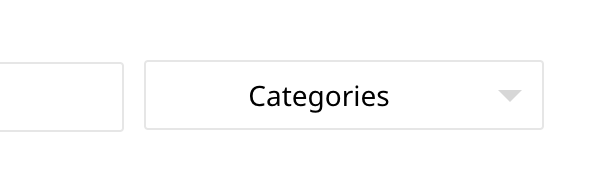
2. Filtering works right away
Once you have locations uploaded/added with tags, you will automatically see a categories dropdown show up on the store locator. You may need to clear browser cache to see the update instantly.
3. Customize the filter and filtering logic
In Map Customization settings, you can edit the name and appearance of this filter (title, display inline, display as dropdown, etc..). For example, you can change the title of the dropdown from "Categories" to "Filter by product" if you have tagged the locations with products.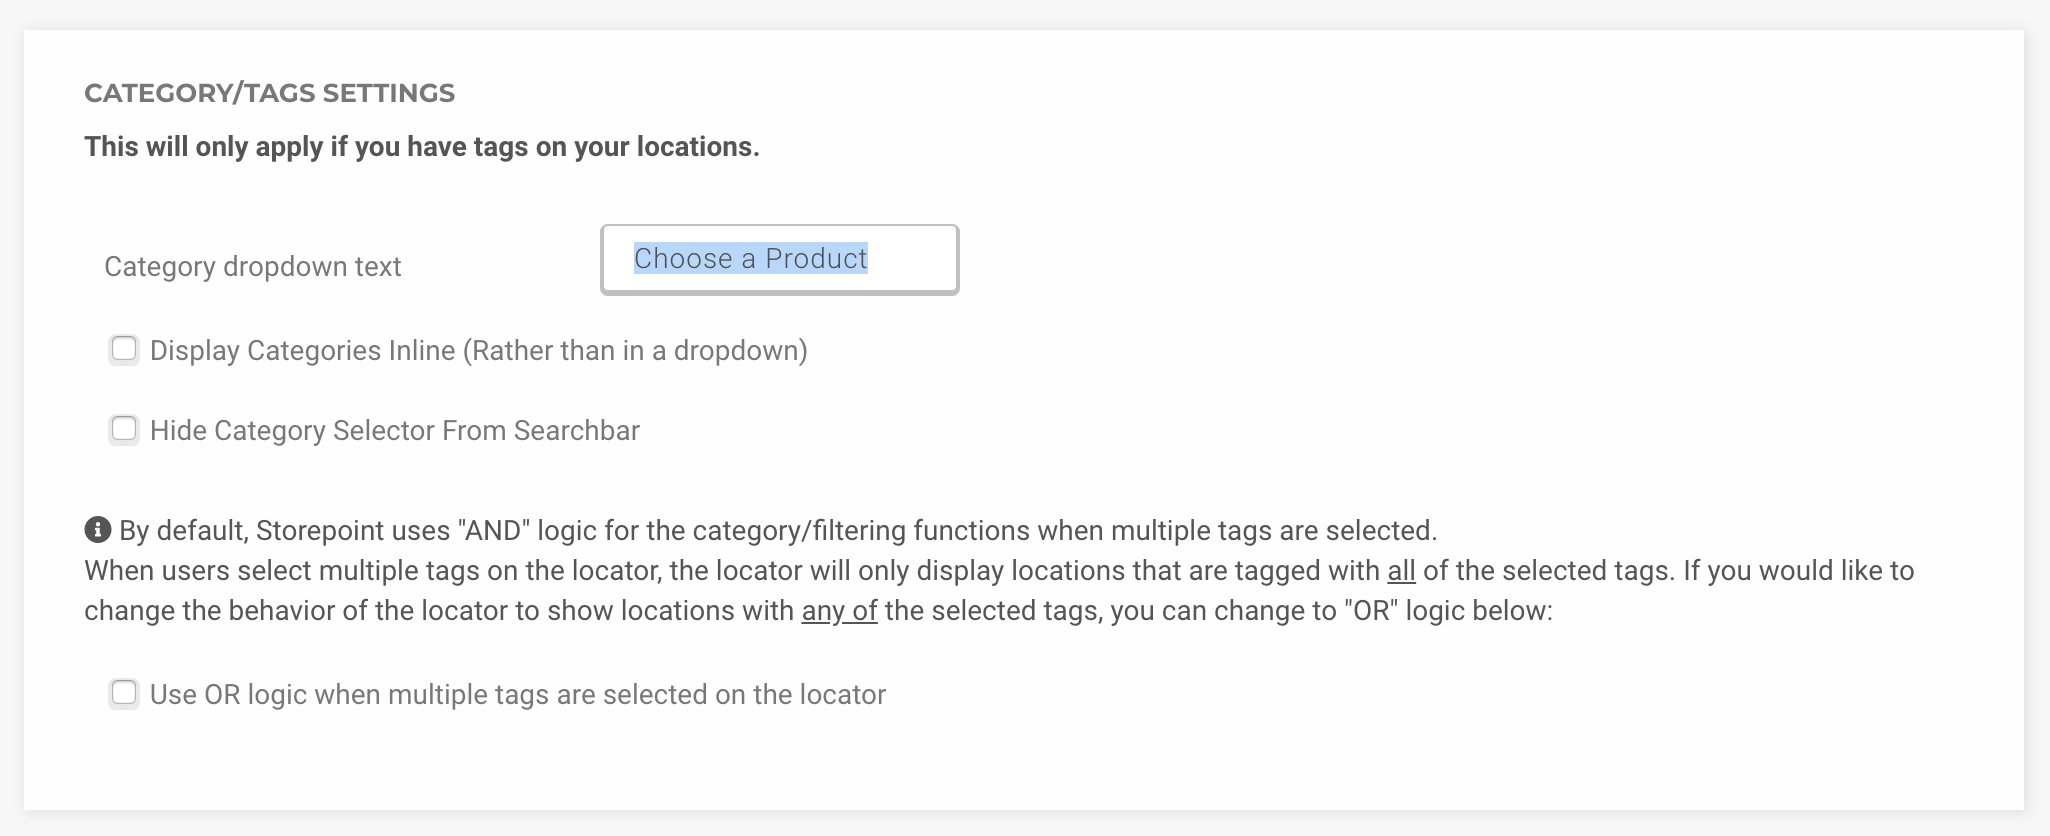
You can also setup custom icons for different tags/types of locations. Learn more about setting up custom icons for each tag here: https://storepoint.zendesk.com/hc/en-us/articles/115000633692-How-to-show-a-different-map-marker-icon-for-each-category-tag-type
If you'd like to have multiple filter types or multiple dropdowns, please contact us to get this setup.