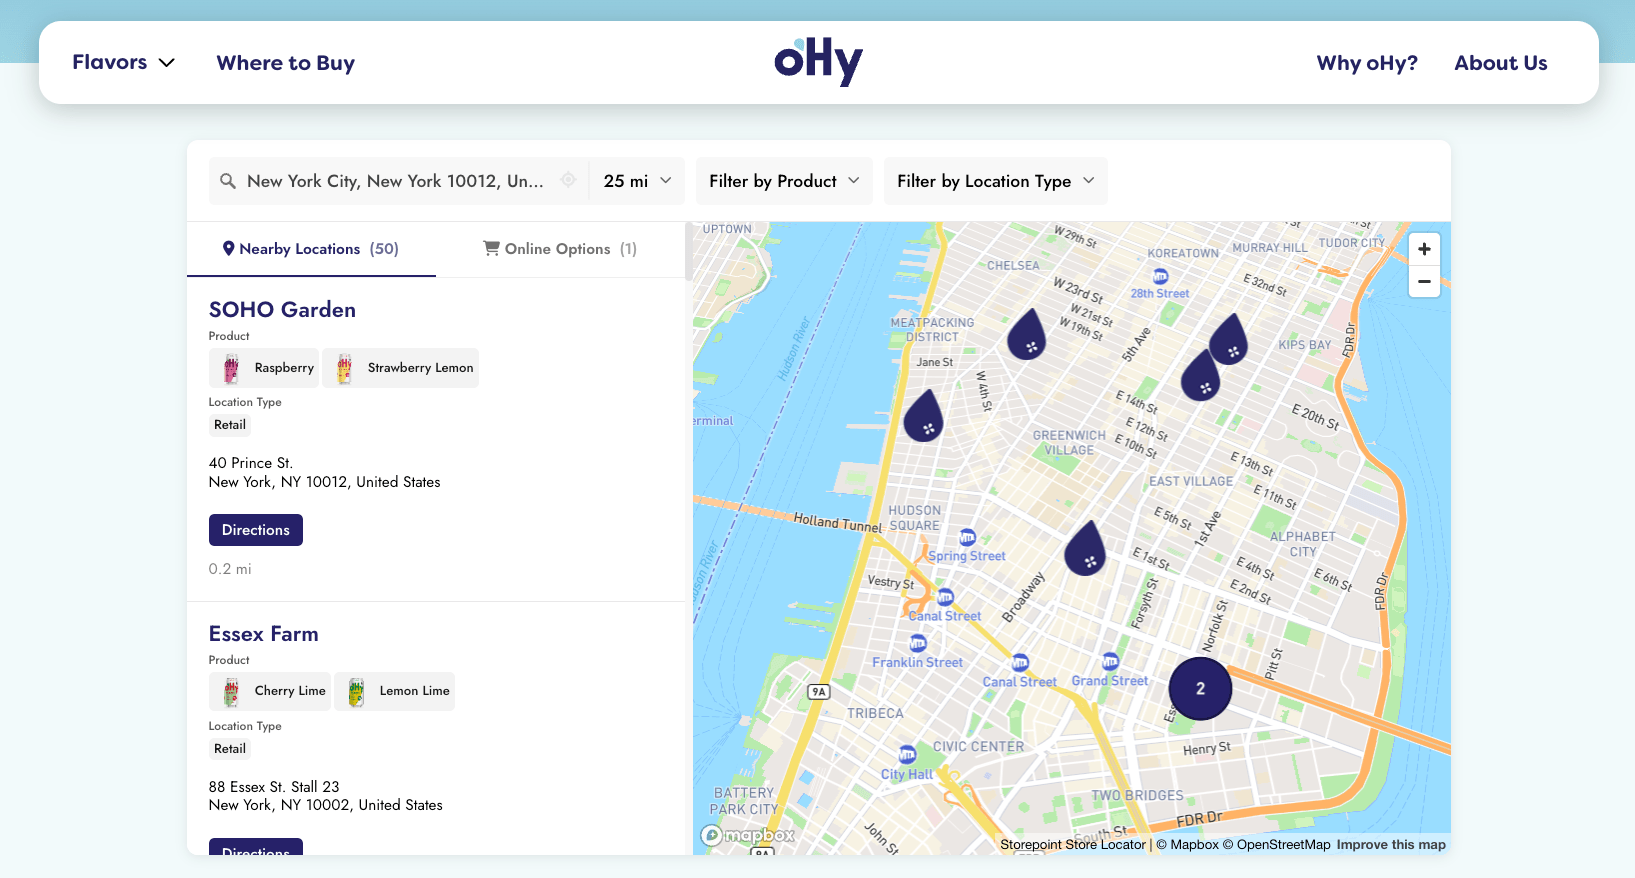
Add a searchable map of your locations to any Joomla page in a single paste. Your Storepoint locator updates straight from your dashboard whenever your locations change, so the site you built stays exactly as you built it.
Use it as a store locator, dealer map, where-to-buy page, restaurant finder, or provider directory for clinics, salons, and other service businesses. Drops into a Custom HTML module assigned to any menu item, on any Joomla template.
Start your free trial See examples
Step 1: Set up your locator
- Create a Storepoint account and follow the prompts (you'll pick a map provider and a few basics), or log in if you already have one
- Add your locations: type them in, import a spreadsheet, or sync from Google Sheets
- Open Embed in the dashboard sidebar and copy your snippet
Step 2: Add a Custom HTML module
- Go to Content > Site Modules (or Extensions > Modules)
- Click New and pick Custom
- Title: "Store Locator"
- In the Custom Output field, paste your locator code
-
Position: pick where the locator should appear in your template (e.g.
main-content,position-7) - Show Title: Hide
- Save
Joomla strips embed scripts by default for safety. To allow your locator code through, go to Content > Articles > Options, open the Text Filters tab, and set Filter Type to No Filtering for Super Users only. Other groups should stay on the default filter.
Step 3: Assign it to a page
- Open the Menu Assignment tab on the module
- Choose Only on the pages selected
- Tick your store locator menu item
- Save
If you don't have a menu item yet, create one under Menus > Main Menu > New and pick Single Article (or any layout). The Custom HTML module will appear on whichever page you assign it to.
Step 4: View, search, done
Open the page on your live site. Try a search. You should see your locations.
That's the full setup. From here, every location update flows through your Storepoint dashboard. Your Joomla template stays exactly as you built it.
Embedding directly in an article (alternative)
If you'd rather keep the locator inside an article instead of a module:
- Content > Articles > New
- In the editor, click Toggle Editor (or switch to Code View) to get the HTML mode
- Paste your Storepoint snippet
- Save
That's TinyMCE's "Prohibited Elements" filter. Go to Extensions > Plugins > Editor - TinyMCE, open your editor profile (often "Set 0 - Default"), and remove script and iframe from the Prohibited Elements list.
Match your template
Style it yourself from the dashboard: map style, marker pins, colors, button shapes, layout. Full CSS access is open on every plan.
Send us your Joomla site link and we'll match the locator to your template. Fonts, colors, layout, button shapes. Included with every plan. See examples →
Common questions
Which Joomla versions does this work on? Joomla 4 and Joomla 5 use the same Custom HTML module, so the install above applies to both.
Have a question?
Email [email protected]. We read every message and answer ourselves.
Next up
- Filters and tags for narrowing by service or category
- Map styles and custom pins from the dashboard
- Custom CSS for total control
- Embed options for filtered or multilingual locators