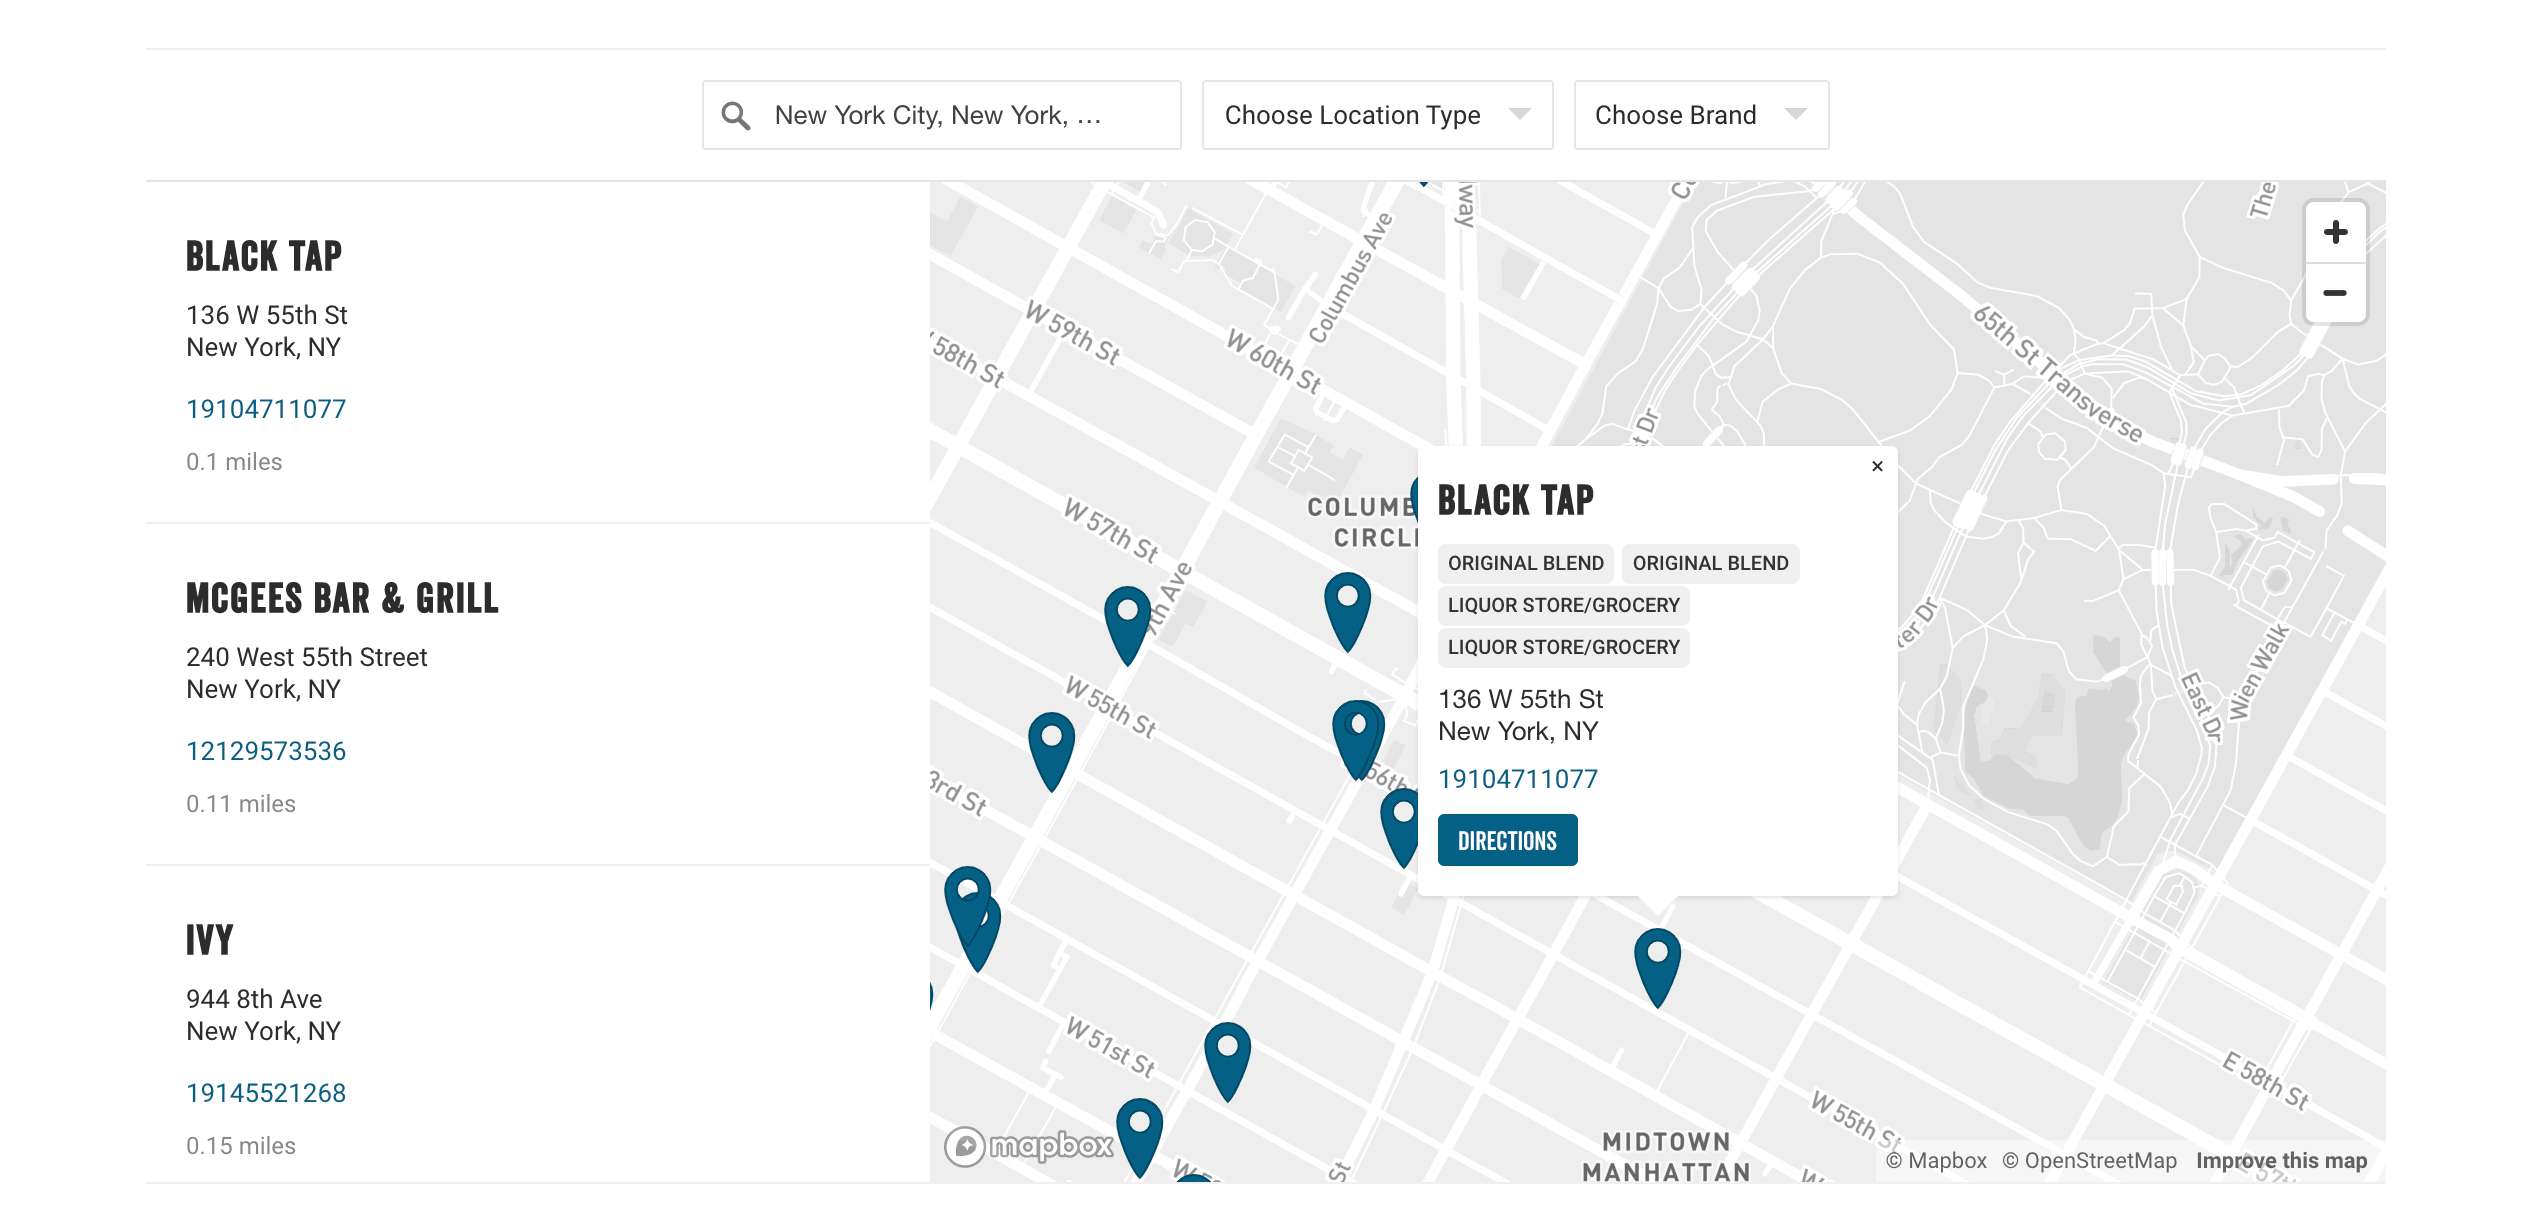
Setting up multiple filters for your store locator is very easy with Storepoint store locator app. If you'd like to set up multiple filters for your store locator, for example, a "location type" filter as well as a "product" filter, we'll show you how to in this tutorial.

Step 1: Tag locations when adding or uploading
When uploading or adding locations, simply make sure to fill the "tags" column with the tag or comma separated tags (if there are multiple) for each location. For example, if a location is a store and stocks product A and product B, you would simply add this to the tags column:
store, product A, product B
- Note: If using our dashboard location management editor rather than CSV bulk upload or google sheets sync, make sure to press "enter" on your keyboard after typing in each tag in the categories/tags field.
Step 2: Split your tags into multiple filters
Once you have uploaded/added your locations with the tags filled out, the next step is to create the separate filters you'd like and assign your tags to each. This is available in your Storepoint dashboard at Locator Customization > Search & Category Filter Settings > Category/Tag Settings and click "Create separate dropdowns". The direct link to access is https://storepoint.co/dashboard/categories
Create your separate filters
Once you are on the "Set Up Multiple Dropdown Filters" page at https://storepoint.co/dashboard/categories, simply start adding the separate filters you'd like. For example, you could add a "Flavors" or "Filter By Flavor" dropdown as well as a "Choose Location Type" dropdown.

Enter the dropdown title you'd like and click the "+" button to add it. Once you've created all the dropdown filters you'll need, we can now assign our tags to their respective dropdowns.
Assign tags to your dropdowns/category groups
Now that we have added all the dropdowns we need, move down to the next section so we can assign our tags to our dropdowns. If there are no tags here, this means you haven't completed Step 1 yet.

For each tag, select the dropdown filter they should belong to from the options you created in the previous section. Once you have assigned your tags to their respective dropdown filters, click "Save Settings" at the bottom of the page and you're all done :)
If you ever change your tag names or add different tags in the future, make sure to assign them to the appropriate dropdown filte
All done!
You can also setup custom icons for different tags/types of locations. Learn more about setting up custom icons for each tag here: https://storepoint.co/help/store-locator-custom-icons-categories