In this tutorial we'll go over how to easily create and embed a store locator widget for Elementor in the Elementor page builder.
Step 1: Create your store locator and add/upload locations
Before adding the locator to your Elementor site, we must first create the locator and add or bulk upload our locations. If you haven't yet created the locator or bulk uploaded your locations, take a moment to get set up: How to create a store locator for your website
Step 2: Embed the store locator on Elementor
Now that we've added a few locations, we'll install the Elementor store locator plugin on your website.
- In the Storepoint dashboard, copy your embed snippet from the "Embed Map" page, also accessible here when logged in: https://storepoint.co/dashboard/map
- Next, in your Elementor editor, create a new page or edit an existing page where you'll add the store locator.
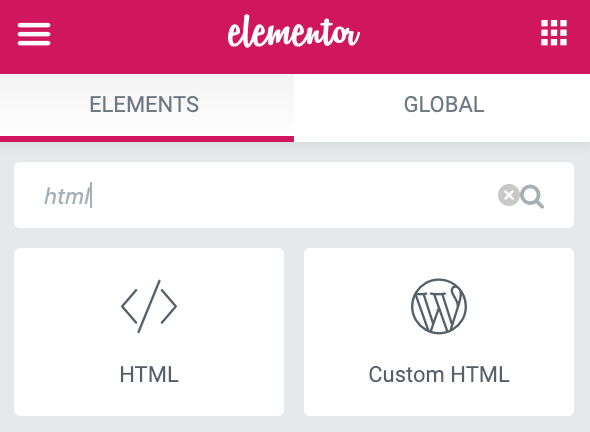
- In the side "elements" dashboard, search for the "HTML" widget

- Drag-and-drop the "HTML" widget onto your page where you'd like the locator to display.
- You'll see a window appear with an "HTML Code" field - simply paste the embed snippet that was copied in Step 1 into this "HTML Code" field.
- All done! Make sure to click Update/Save to save the edits :)
If you have any questions or would like some help customizing the your Elementor store locator to beautifully match your website theme and fonts, let us know at [email protected]