Add a searchable map of your locations to any Magento or Adobe Commerce page in a few minutes. Your Storepoint locator updates straight from your dashboard whenever your locations change, so the storefront you built stays exactly as you built it.
Use it as a store locator, dealer finder, distributor map, where-to-buy product locator, or stockist directory. Drops into a CMS Page or CMS Block through Page Builder, the WYSIWYG editor, or layout XML. Works on every theme: Luma, Hyvä, Blank, or fully custom.
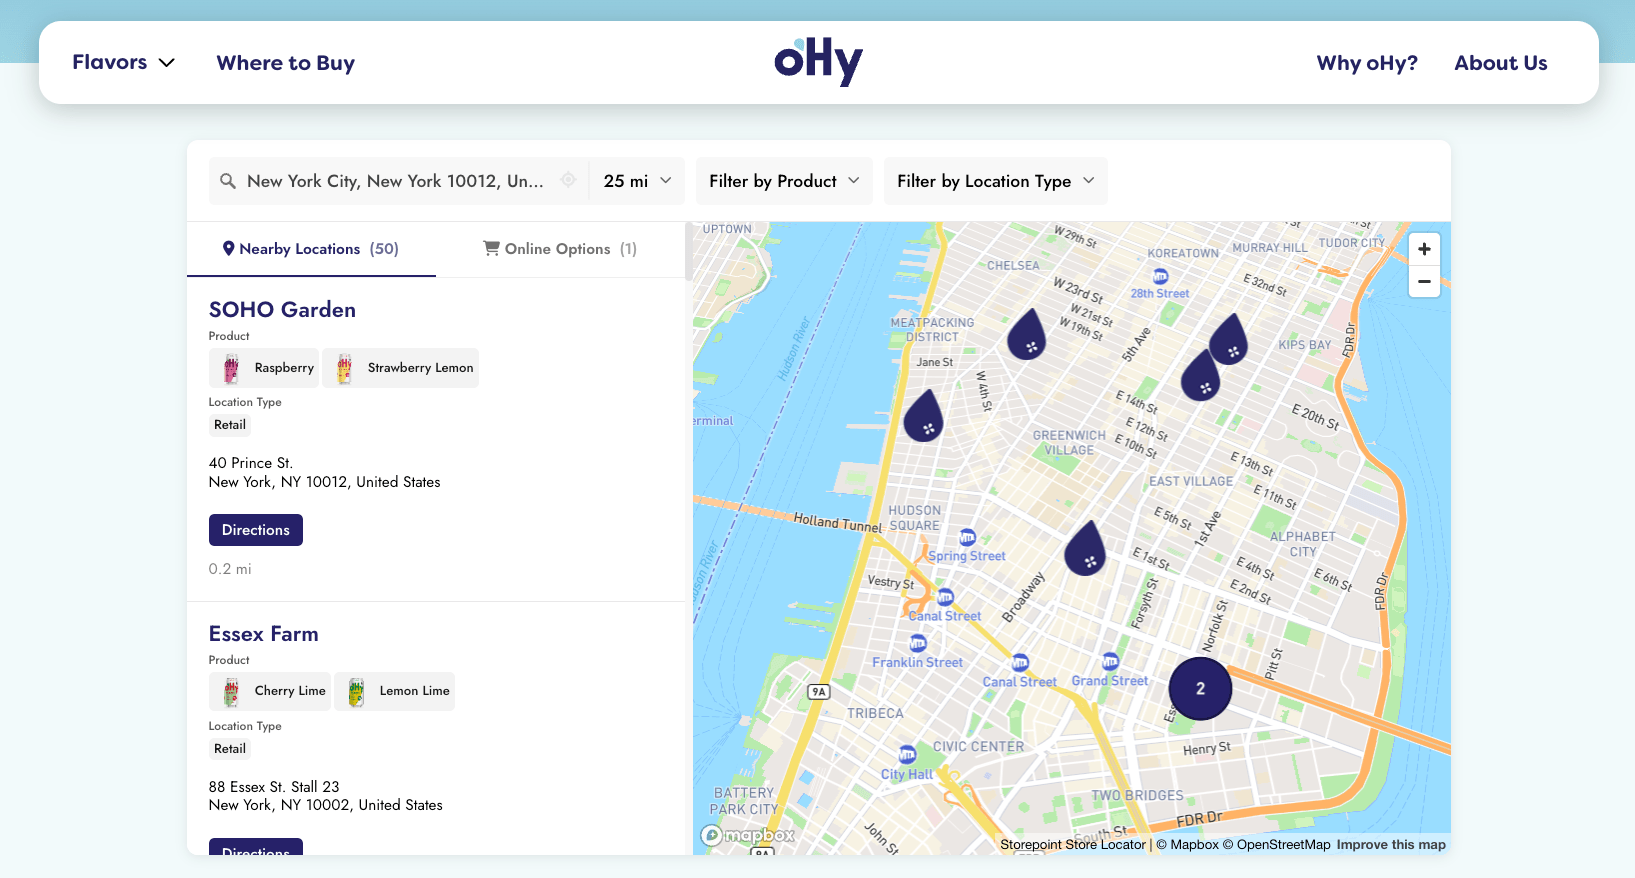
Start your free trial See examples and features
Step 1: Set up your locator
- Create a Storepoint account and follow the prompts (you'll pick a map provider and a few basics), or log in if you already have one
- Add your locations: type them in, import a spreadsheet, or sync from Google Sheets
- Open Embed in the dashboard sidebar and copy your snippet
Step 2: Create a CMS Page
- In the Magento Admin, go to Content > Elements > Pages
- Click Add New Page
- Set a Page Title ("Store Locator", "Find a Dealer", "Where to Buy")
- Set a clean URL Key:
store-locator,find-a-dealer,where-to-buy - Under Page in Websites, pick the store views where the page should appear
- Set Layout to 1 column under the Design section (gives the locator full width)
Step 3: Paste the embed (pick your editor)
Page Builder (default in 2.4+)
- Expand the Content section. Page Builder opens automatically
- In the left sidebar under Elements, find HTML Code
- Drag HTML Code onto the stage
- Hover over the element, click the gear to open settings
- Paste your Storepoint snippet
- Click Save on the element, then Save on the page
WYSIWYG editor (if Page Builder is disabled)
- Expand the Content section
- Click Show / Hide Editor to switch into HTML source mode
- Paste your Storepoint snippet
- Click Save
The visual editor strips the <script> tag silently. Click Show / Hide Editor first, then paste.
CMS Block (when you want to reuse the locator)
If the locator should appear on more than one page, save it as a CMS Block instead. You'll be able to drop it onto any page from the Page Builder.
- Go to Content > Elements > Blocks, click Add New Block
- Give it a Block Title ("Store Locator Widget") and a unique Identifier like
storepoint_locator - Switch to HTML source mode (Show / Hide Editor)
- Paste your locator code, click Save
You can now drop this block into any CMS Page using Page Builder's Block element. Pick the page, drag in the Block element, choose your saved block, save.
If you'd like the block placed via layout XML instead, the reference is storepoint_locator and it can be inserted into any container with <block class="Magento\Cms\Block\Block">.
Step 4: Enable, then test
- Set the page Status to Enable under Page Information
- Click Save
- Open the page on your storefront and try a search
No developer commands needed. No restart, no rebuild. The locator loads on the page as soon as you save.
If the page is blank: ask your developer about CSP
Magento has a security setting called Content Security Policy (CSP for short) that blocks unknown scripts by default. If your locator just shows empty space on the page, this is almost always why. The fix takes your developer about a minute.
Send them this:
Storepoint needs to be added to the store's CSP allowlist. Edit
etc/csp_whitelist.xmlin your custom module (or the Hyvä CSP override file) and add:
<policy id="script-src">
    <values>
        <value id="storepoint" type="host">https://*.storepoint.co</value>
    </values>
</policy>
<policy id="frame-src">
    <values>
        <value id="storepoint" type="host">https://*.storepoint.co</value>
    </values>
</policy>
For Google Maps, also add https://*.googleapis.com and https://*.gstatic.com. For Mapbox, add https://*.mapbox.com.
If you (or your developer) would rather skip the XML, switch CSP to "report-only" mode under Stores > Configuration > Security > Content Security Policies to confirm what's blocked, then add the allowlist.
Add it to your menu
A few common paths, depending on your theme:
-
Top navigation: most themes need this added by your developer through layout files. The link will be
/store-locator(or whatever URL Key you set) - Footer links: open Content > Elements > Blocks > Footer Links and add a link to your page right in the editor
- Header links: some themes let you add top links from Content > Design > Configuration > Header without any code
Match your storefront
Style it yourself from the dashboard: map style, marker pins, colors, button shapes, layout. Full CSS access is open on every plan.
Send us your storefront link and we'll match your locator to your theme. Fonts, colors, button radius, header behavior. Free with every plan. See examples →
Common questions
Which Magento and Adobe Commerce versions does this work on? Magento 2 (2.3 and up), Adobe Commerce, and Adobe Commerce Cloud all use the same CMS Page and CMS Block features, so the install above applies across all three.
Talk to us
Email us at [email protected] with your storefront link. We've shipped Storepoint on plenty of Magento stores and we know the quirks.
Beyond setup
- Filters and tags for product, brand, or dealer-type narrowing
- Build a where-to-buy page with product filters and purchase links
- Map styles and custom pins from the dashboard
- Embed options for filtered or multilingual locators
- Real Magento and Adobe Commerce locators for inspiration