Add a searchable map of your locations to any HubSpot page in a single paste. Your Storepoint locator updates straight from your dashboard whenever your locations change, so the page you built stays exactly as you built it.
Use it as a store locator, dealer page, provider directory, restaurant finder, or stockist page. Drops into a Rich Text or Custom HTML module on website pages, landing pages, and blog posts. Works on every HubSpot theme.
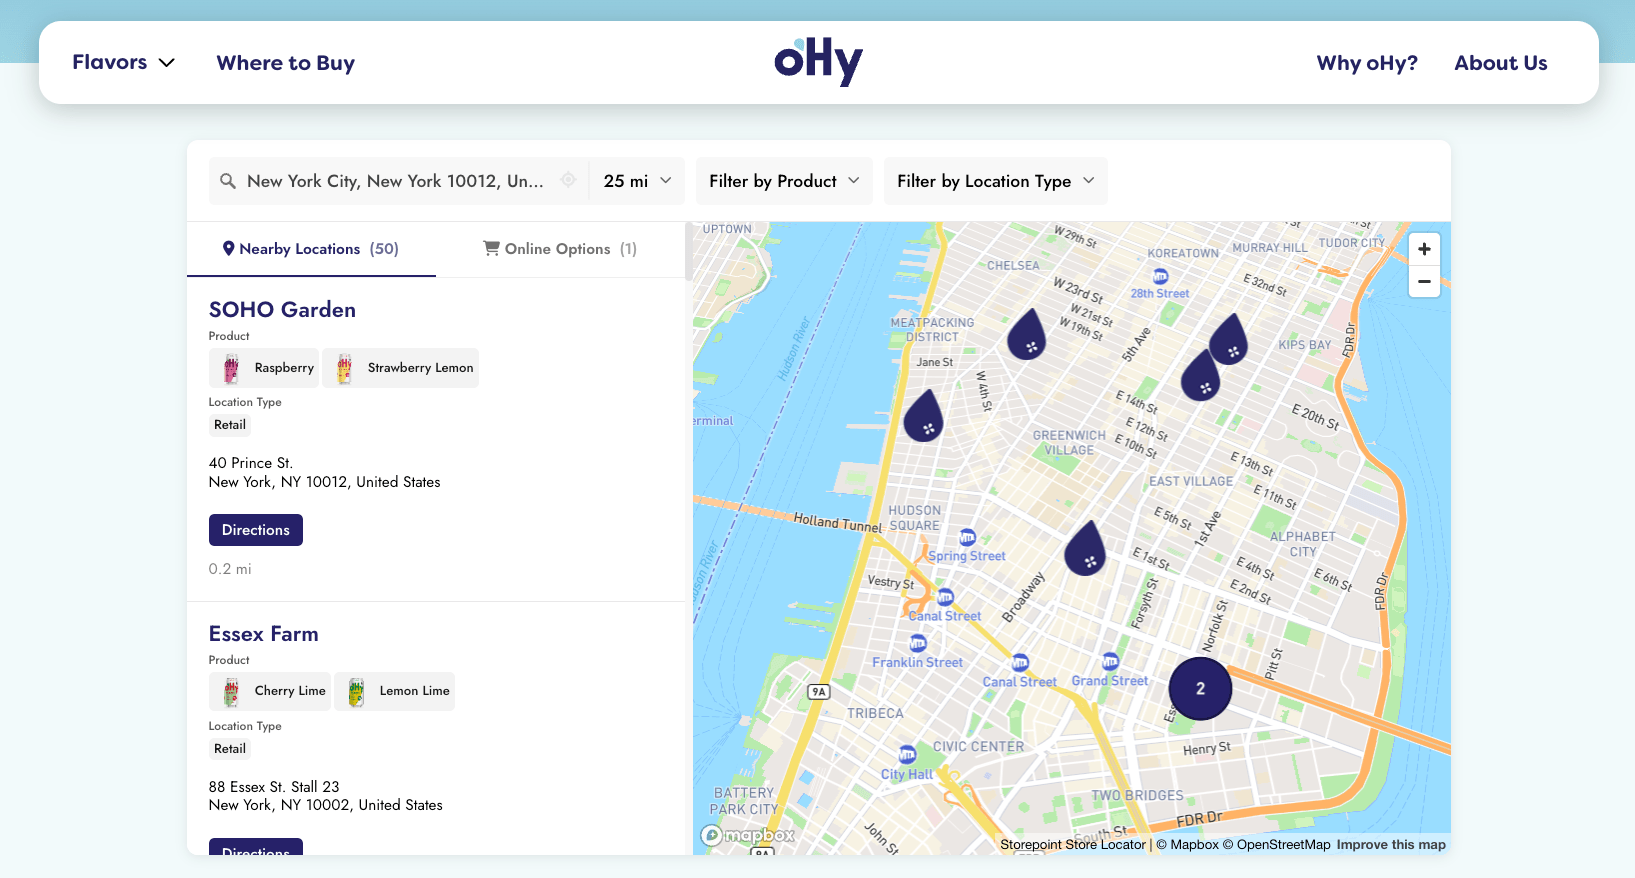
Start your free trial See examples
Step 1: Set up your locator
- Create a Storepoint account and follow the prompts (you'll pick a map provider and a few basics), or log in if you already have one
- Add your locations: type them in, import a spreadsheet, or sync from Google Sheets
- Open Embed in the dashboard sidebar and copy your snippet
Step 2: Open your page
In HubSpot, go to Marketing > Website > Website Pages (or Landing Pages for marketing campaigns). Either edit your locator page or click Create > Website page and pick a template that has a Rich Text module in the layout.
Step 3: Paste the embed (pick your path)
Path A: Rich Text module
If your template already has a Rich Text module on the page:
- Click the Rich Text module to open the inline editor
- In the toolbar, click Insert > Embed
- Paste your Storepoint snippet into the embed dialog
- Click Insert
Path B: Custom HTML module
If your template doesn't have a Rich Text module where you need it:
- In the page editor, click Add to drop a new module onto the page
- Search the module library for HTML or Embed
- Drag it where the locator should appear
- Paste your Storepoint snippet into the content field
- Save the module
HubSpot's editor often renders embeds as a grey block. Click Preview in the top right to see the actual locator.
The locator fills whatever module it sits in. For a full-width locator, drop the module into a full-width section (or a one-column drag-and-drop area) instead of a narrow column.
Step 4: Publish
- Click Preview to confirm the locator loads and a search works
- Click Publish when you're ready
That's the full setup. From here, every location update flows through your Storepoint dashboard. Your HubSpot page stays exactly as you built it.
Add it to navigation
- Go to Settings > Website > Navigation
- Pick the menu (Main, Footer, etc.)
- Click Add menu item and choose your locator page
- Save
Match your theme
Style it yourself from the dashboard: map style, marker pins, colors, button shapes, layout. Full CSS access is open on every plan.
Send us your HubSpot site link and we'll match the locator to your theme. Fonts, colors, layout, button shapes. Free, every plan. See examples →
Talk to us
Email [email protected] with your page link. We answer ourselves, no canned replies, no ticket queue.
Take it further
- Filters and tags for narrowing by service, brand, or category
- Map styles and custom pins from the dashboard
- Custom CSS for total control
- Embed options for filtered or multilingual locators