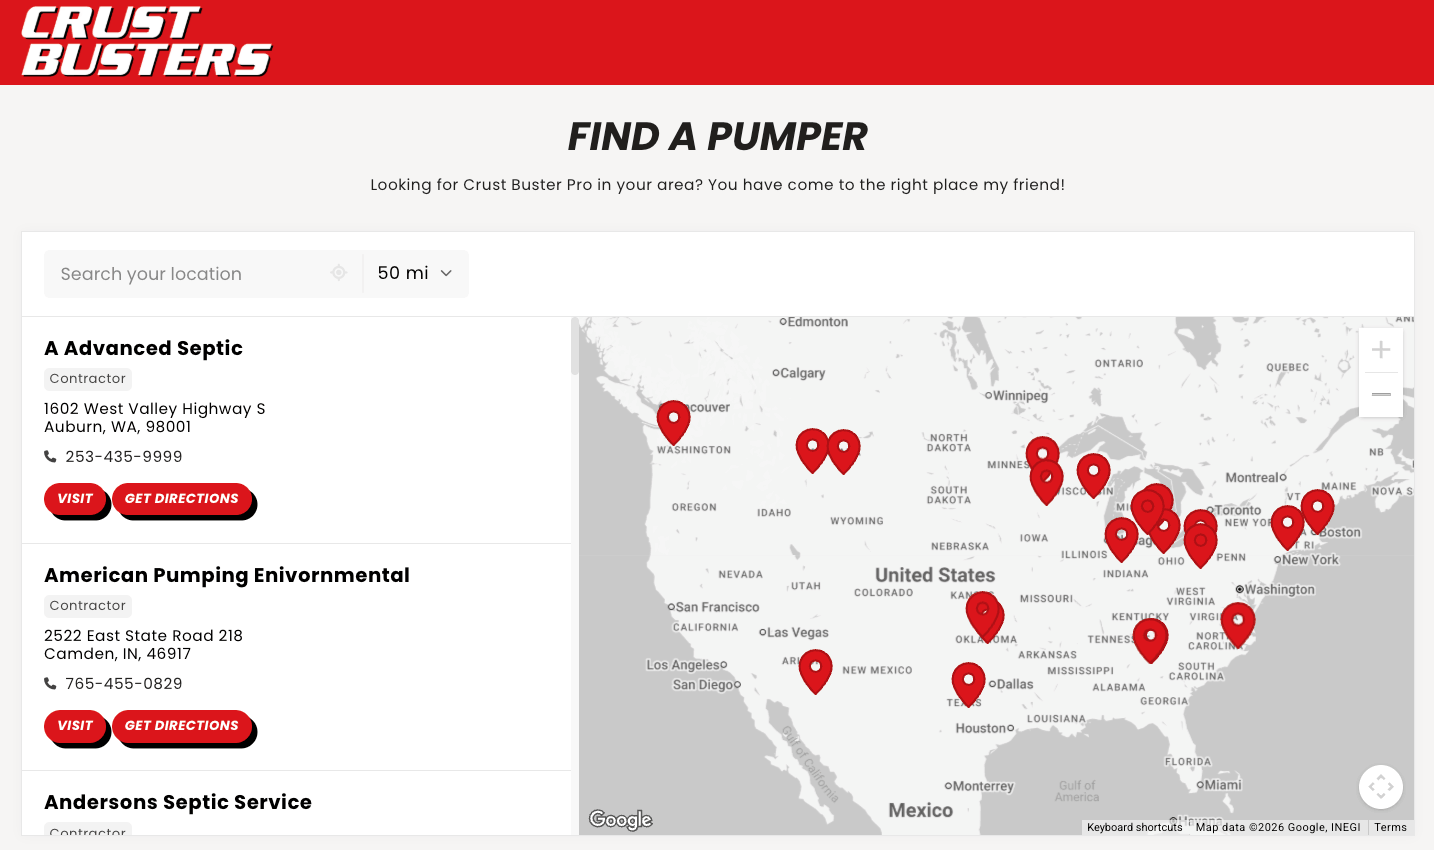
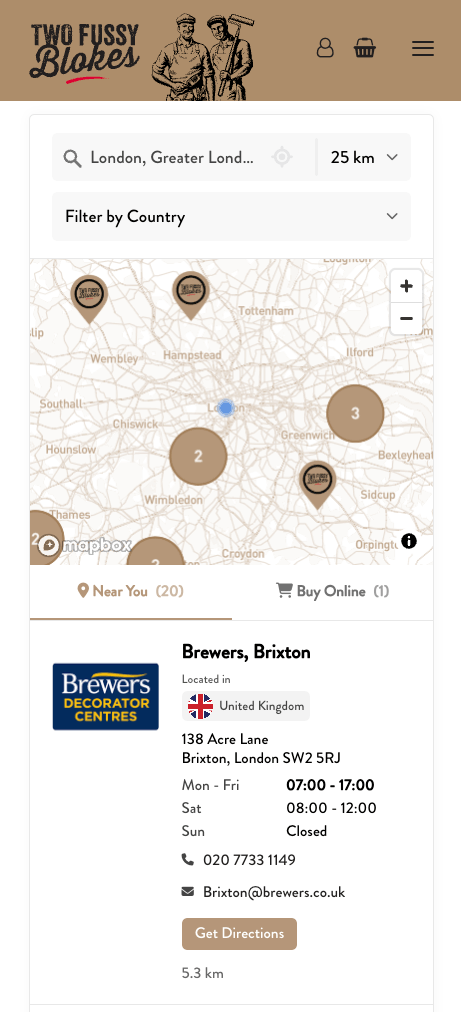
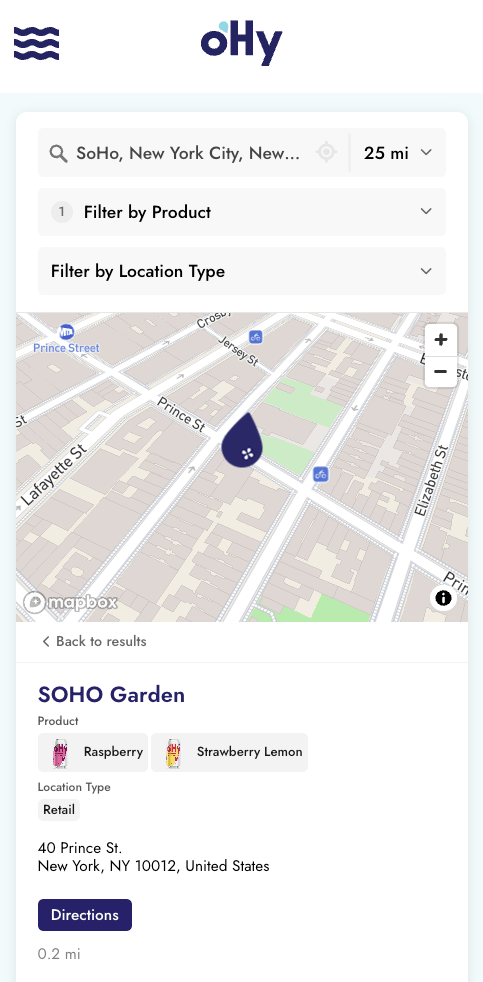
Put it on any page of your store. When your locations change, your store locator updates on its own. New to Storepoint? See our BigCommerce store locator for examples and plans.
Start your free trial See examples
All you need is a Storepoint account. New to Storepoint? Start your free trial and set it up. It only takes a few minutes.
Most stores give the store locator its own page, like Find a Store or Where to Buy. Follow these five steps.
- In Storepoint, select Install on your site.
- Select the box under Your embed code. Storepoint copies it for you.
Using Makeswift or Catalyst? Follow these steps instead.
- In BigCommerce, go to Storefront › Themes.
- Select Edit in Page Builder.
- Open the page menu at the top left.
- Select Create new page.
- Type a title, like Find a Store, and a page address.
- Create the page.
Already have a page for it? Choose that page from the menu instead.
- Select the widgets icon (four squares) on the left.
- Drag the HTML widget onto your page.
- Paste your store locator into the HTML box.
- Select Save HTML.
Nothing changes for shoppers yet. That happens when you publish.
You're all done!
From now on, every change you make in Storepoint updates on your store automatically.
- Go to Storefront › Web Pages.
- Select your store locator page.
- Check Yes, show this web page on the navigation menu.
- Select Save.
Page Builder suits most stores. These ways work too:
Paste it into a web pageNo Page Builder needed. Works with every Stencil theme.
Paste it in Source code, not in the normal editor view. After you paste, don't change it with the other editor tools.
- Go to Storefront › Web Pages.
- Select Create a Web Page.
- Type a Page Name, like Find a Store.
- In the editor, select Source code.
- Paste your store locator, and save the box.
- Select Save.
Use Makeswift or CatalystIf you design your store in Makeswift, or your store runs on Catalyst.
In Makeswift:
- Drag the Embed component onto your page. It's under Other.
- Paste your store locator into Code.
- Publish your page.
On Catalyst without Makeswift: ask your developer to add your store locator to the page once.
Add it to more than one storefrontFor stores with Multi-Storefront.
Each storefront has its own pages. Add your store locator to each one:
- Go to Channels › Channel Manager.
- Select the name of your storefront.
- Under Theme, select Edit theme. Page Builder opens for that storefront.
- Do steps 3 to 5 above.
Want different locations or a different language on each storefront? Make a filtered version on Install on your site first. See Embed code options.
Choose your map style, map pins, colors, buttons and layout in Storepoint. Designers can also add their own CSS.
Send us your store link, and we'll match your store locator to your theme. Fonts, colors, buttons and layout. Included with every plan. See examples →
Does BigCommerce have a built-in store locator?
No. BigCommerce can track stock and pickup by location, but it has no store locator page for shoppers. You can add one with Storepoint in about 5 minutes.
Do I need a BigCommerce app?
No. You add Storepoint with one copy and paste. It never asks for access to your orders, customers or products.
Will it work with my theme?
Yes. It works with Cornerstone, every theme from the Theme Marketplace, and custom Stencil themes. It fills the space you put it in, and it works great on phones.
My store locator doesn't show. What do I do?
- Open the page on your store, not in the editor preview.
- Still nothing? If you used a web page, paste it again in Source code.
- Then check your map provider setup.
Email us with a link to the page, and we'll help.
Email us at [email protected] with a link to your store. We're a small team, and we handle support ourselves.
- BigCommerce store locator: examples, features and plans
- Build a where-to-buy page with product filters and buy buttons
- Filters and tags, so shoppers can filter by product, brand or store type
- Map styles and custom pins from your dashboard
- Embed code options for filtered or translated versions