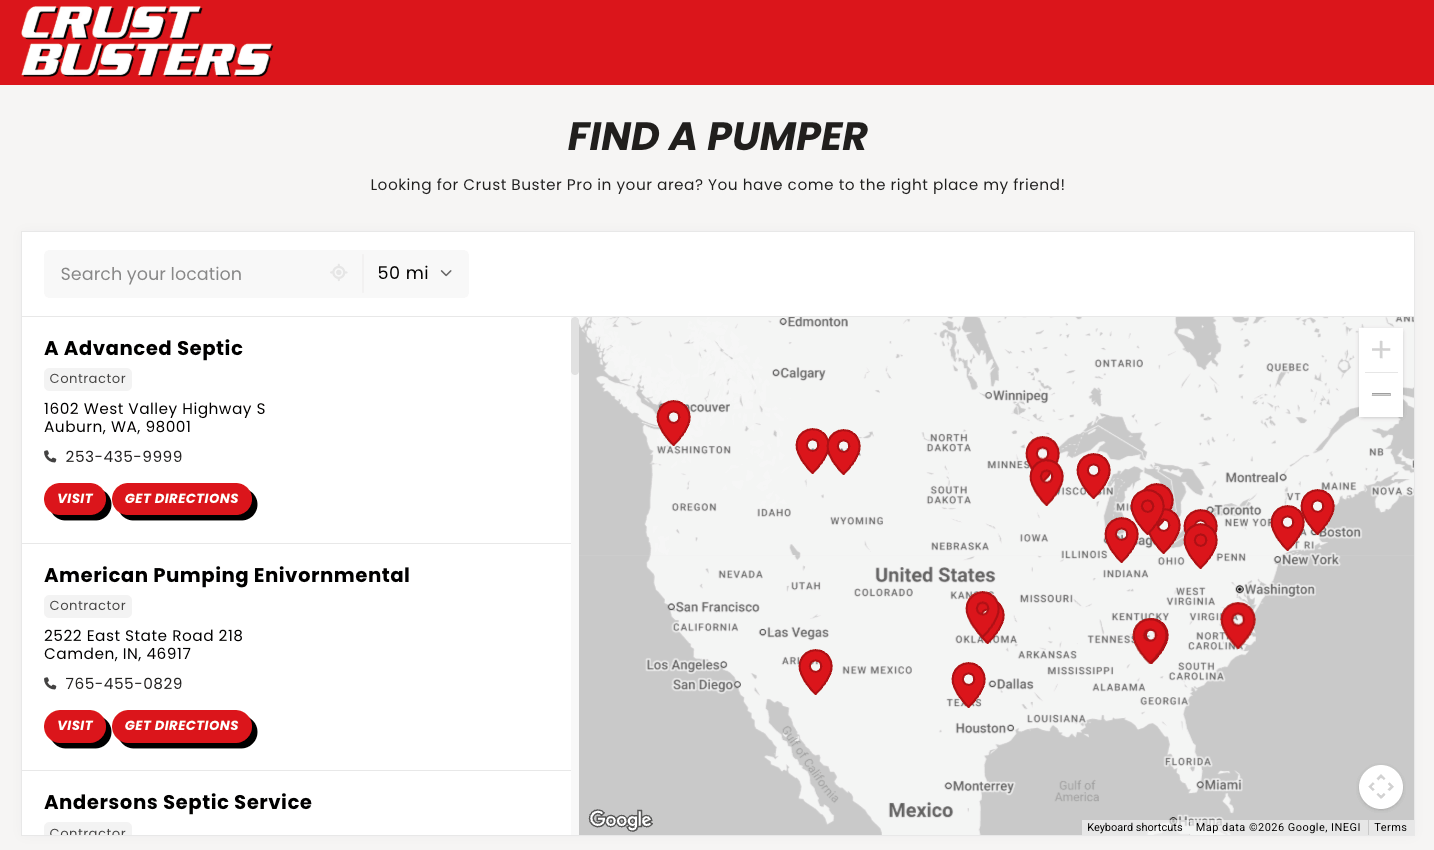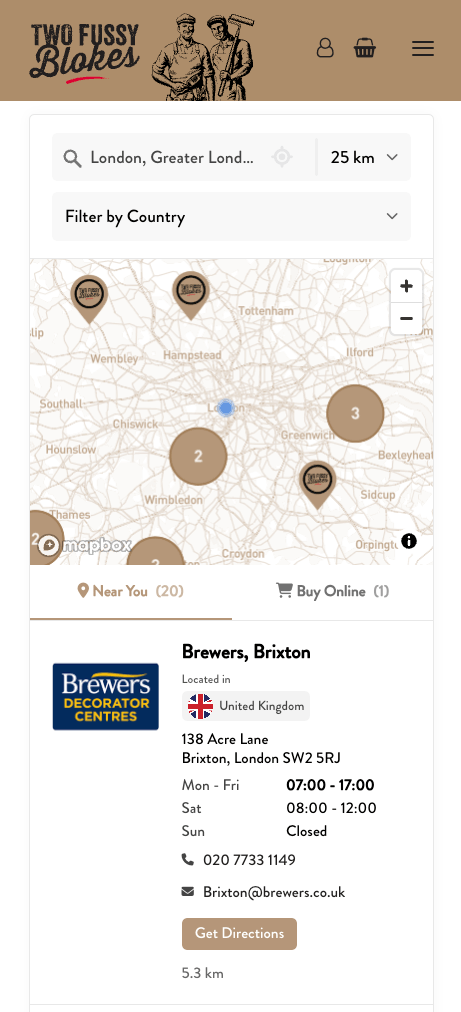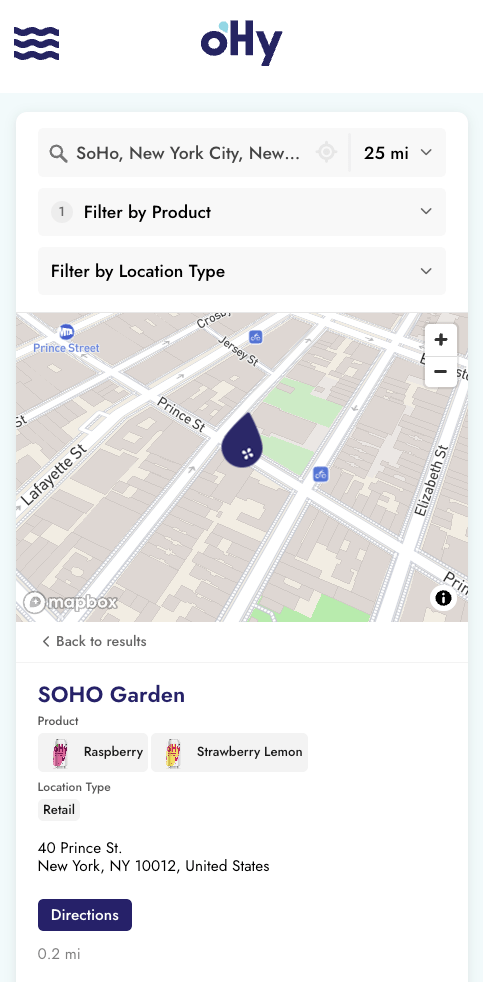
Connect the locations in your Webflow CMS collection to your map. See the Webflow CMS integration overview for examples.
You’ll need: a Storepoint store locator account and access to the Webflow site and collection you want to use.
Already have locations in this locator? Export them before starting. The first Webflow import replaces this locator’s location list. To keep your current list separate, connect Webflow to another locator.
Use one collection item for each location. Give it a name and full address. You can use one address field or separate street, city, state, postal code, and country fields.
Make the items you want to import ready to publish. The first import leaves out draft and archived items.
- In Storepoint, open Webflow CMS Integration.
- Select Connect To Webflow, sign in, and approve access.
- Choose your site and the collection that holds your locations.
- Continue to Collection Field Mapping.
Match your collection fields to the Storepoint details visitors will see:
| Webflow field | Storepoint detail |
|---|---|
| Location name | Name |
| Full address | Address |
| Description | Description |
| Location image | Image |
| Website link | Website |
| Category or service | Tags |
For a split address, match each part to its address field. Then select Save Field Mapping & Start Syncing From Webflow. This starts the import and replaces the locator’s existing list.
Open Integration Settings to check the import. Review your locations, then follow the Webflow embed guide to add the map to a page. You can also embed it on another website platform.
Keep editing your location details in Webflow. Later updates use the same map and embed code.
What happens if I change my Webflow collection or field mapping?
Saving new collection settings or field mappings starts another full import and replaces the locator’s location list. Export any locations you want to keep before saving. See how to export locations.
How do I map Webflow categories to locator filters?
Map your category field to Tags in Storepoint, then set up filter groups. Option fields supply their labels, Switch fields supply their labels when turned on, and text fields supply text values.
How do I add extra details from my collection?
Create a custom field in Storepoint before matching it to a supported Webflow field. Use fields on the location item itself. Reference fields do not automatically bring in all the details from a related collection.
How can I check that Webflow updates reach my map?
After the first import finishes, change a public detail on one location in Webflow and check the linked location in Storepoint. Webflow sends notices for added, changed, and deleted items. Storepoint updates the map after it receives and processes them. You can check the import in Integration Settings or ask our team for help.