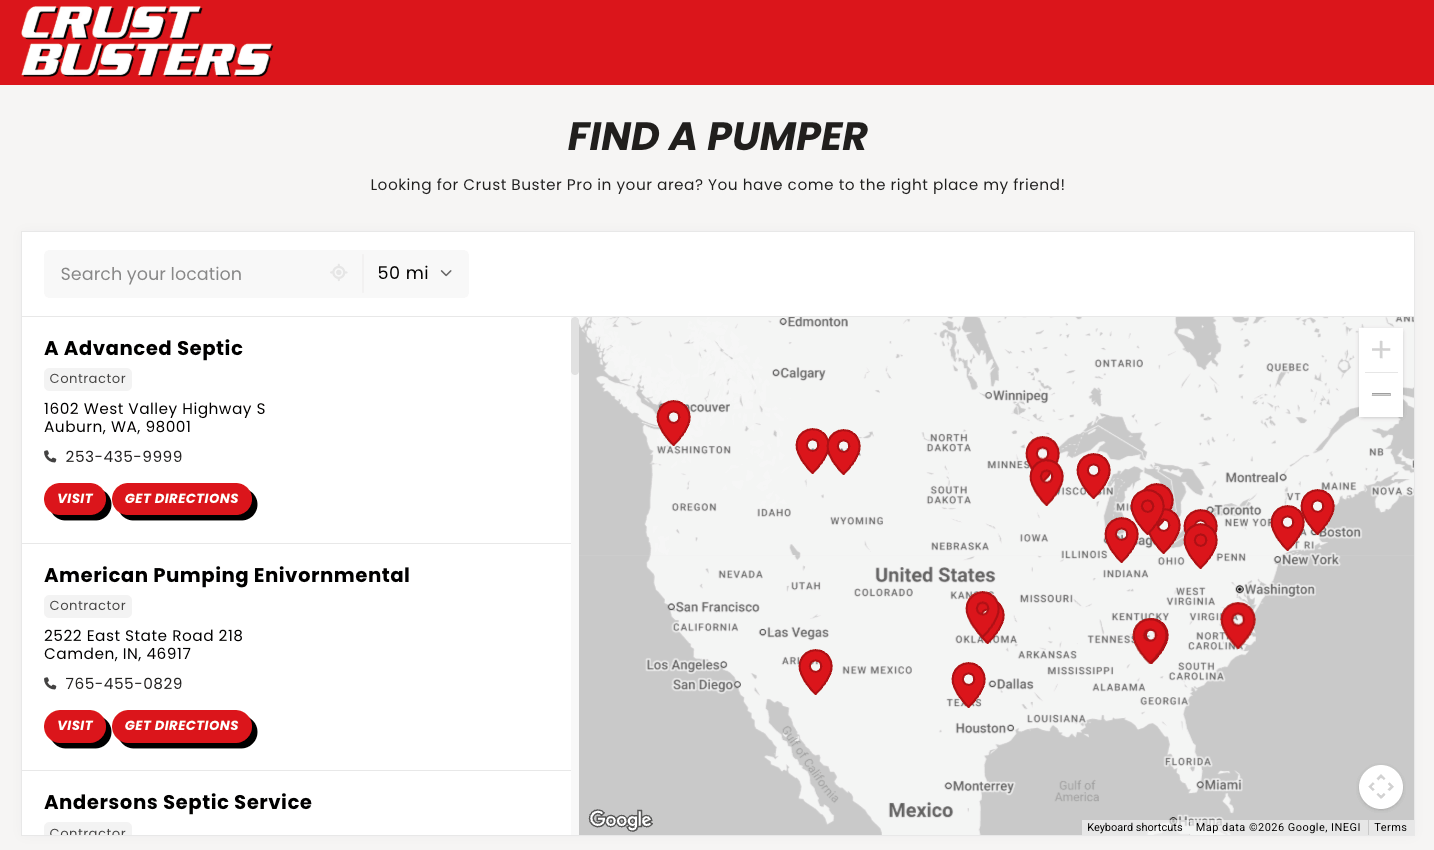
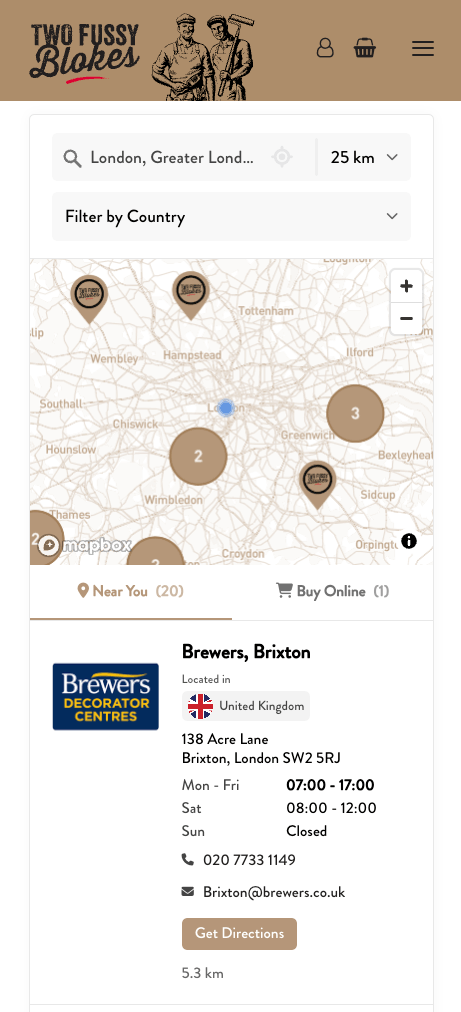
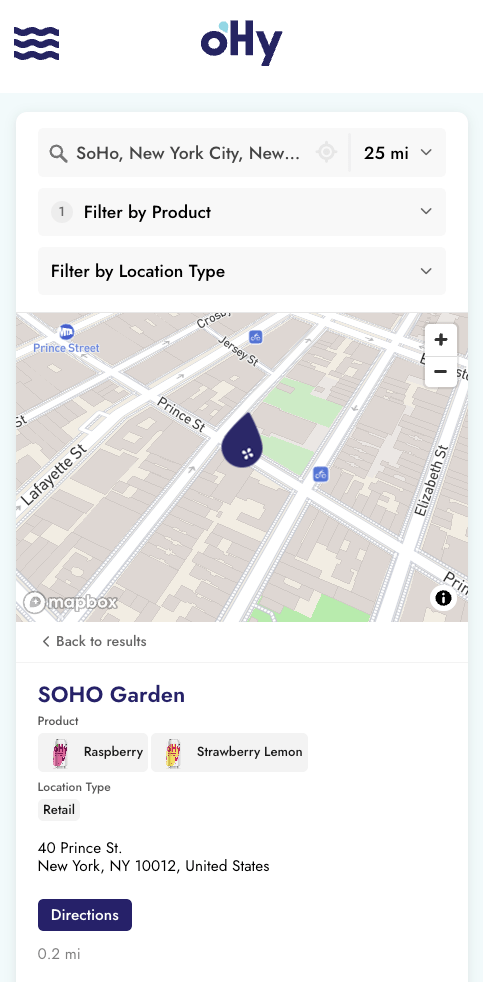
Connect ChatGPT to your Storepoint account and manage your store locator by chatting. Ask ChatGPT to add a new location, update opening hours, create a custom field, or hand you the embed code for your website. Changes go live on your locator instantly.
Behind the scenes this uses the Storepoint MCP server, which also works with Claude, Cursor, and other AI assistants.
ChatGPT calls this feature Developer mode. The name sounds technical, but it is a single toggle in settings. The whole setup takes about two minutes.
What You Can Ask ChatGPT
Once connected, ChatGPT can work with your locations, custom fields, and embed code. A few examples:
- "Add our new store at 600 Congress Ave, Austin and tag it flagship"
- "Update the phone number for the Chicago location"
- "Which locations are still drafts?"
- "Add a Book Now button field and set it to our scheduling link for every clinic"
- "Give me the embed code for my website"
ChatGPT reads your request, picks the right action, and asks before deleting or overwriting anything.
Before You Start
You'll need two things:
- A Storepoint account. Storepoint is an embeddable store locator widget for your website. New accounts come with a 7 day free trial.
- A paid ChatGPT plan: Plus, Pro, Business, Enterprise, or Edu. The free ChatGPT plan does not allow custom connectors.
Use ChatGPT on the web at chatgpt.com for the setup. The mobile app cannot add connectors.
Step 1: Turn On Developer Mode
- In ChatGPT, click your profile icon and open Settings
- Open Apps & Connectors
- Scroll down and open Advanced settings
- Turn on Developer mode
OpenAI has moved this setting before. If it is not under Apps & Connectors, check Settings, then Security and login. On Business, Enterprise, and Edu plans, a workspace admin may need to enable Developer mode first.
Step 2: Add Storepoint as a Connector
- Go back to Settings, then Apps & Connectors
- Click Create
- Fill in the form:
- Name: Storepoint
- Description: Manage my store locator
- MCP Server URL:
https://mcp.storepoint.co/mcp
- Authentication: OAuth
- Click Create
ChatGPT shows a standard notice about custom connectors. This appears for every connector added through Developer mode. Accept it to continue.
Step 3: Sign In with Storepoint
ChatGPT opens a Storepoint sign-in page. Log in with your normal account. If you have more than one locator, pick the one to connect, then click Connect.
That's it. Start a new chat and ask ChatGPT something about your locations. If ChatGPT doesn't use the connector, open the tools menu in the message box and enable Storepoint for that chat.
Account owners can always connect. Invited team members need the developer or admin role on the locator. The account owner can update roles from the dashboard.
What ChatGPT Can Access
The connection is scoped to the single locator you approve. ChatGPT can manage that locator: locations, custom fields, settings, analytics, and your embed code. It cannot access your billing details, password, or other locators on your account.
Actions that change or delete data are flagged, so ChatGPT confirms with you before running them.
Disconnecting
Remove the Storepoint connector from ChatGPT's settings at any time. Your locator, locations, and settings stay exactly as they are. Disconnecting only removes access.
Common Questions
Do I need a paid ChatGPT plan?
Yes, on the ChatGPT side. Custom connectors require Plus, Pro, Business, Enterprise, or Edu. On the Storepoint side, every plan includes the connection at no extra charge.
Why does ChatGPT show a warning when I add the connector?
ChatGPT shows that notice for every connector added through Developer mode. It is standard for connectors that are not yet packaged in OpenAI's directory. The connection itself uses OAuth, and access is scoped to the one locator you approve.
Can ChatGPT delete my locations?
Only when you ask it to. Delete actions are flagged so ChatGPT confirms with you first. Deleted locations cannot be restored, so review before confirming.
Does this work with Claude or Cursor?
Yes. The same server works with Claude, Claude Code, Cursor, and any MCP client. See the Connect Claude guide or the MCP Server doc for setup in other clients.
Learn More
- Connect Claude to Storepoint: the same setup for Claude
- MCP Server: connect Cursor and other clients
- Custom Fields: buttons, text, phone numbers, and icons
- MCP Server developer docs: the full technical reference