Add a searchable map of your locations to any Wix page in a single paste. Your Wix store locator updates straight from your dashboard whenever your locations change, so the design you built stays exactly as you built it.
Use it as a store locator, stockist page, dealer map, product finder, service directory, or provider directory on your Wix site. Works for clinics, salons, restaurants, and other location-based businesses. You'll paste it into the HTML iframe element in either Wix Editor or Wix Studio.
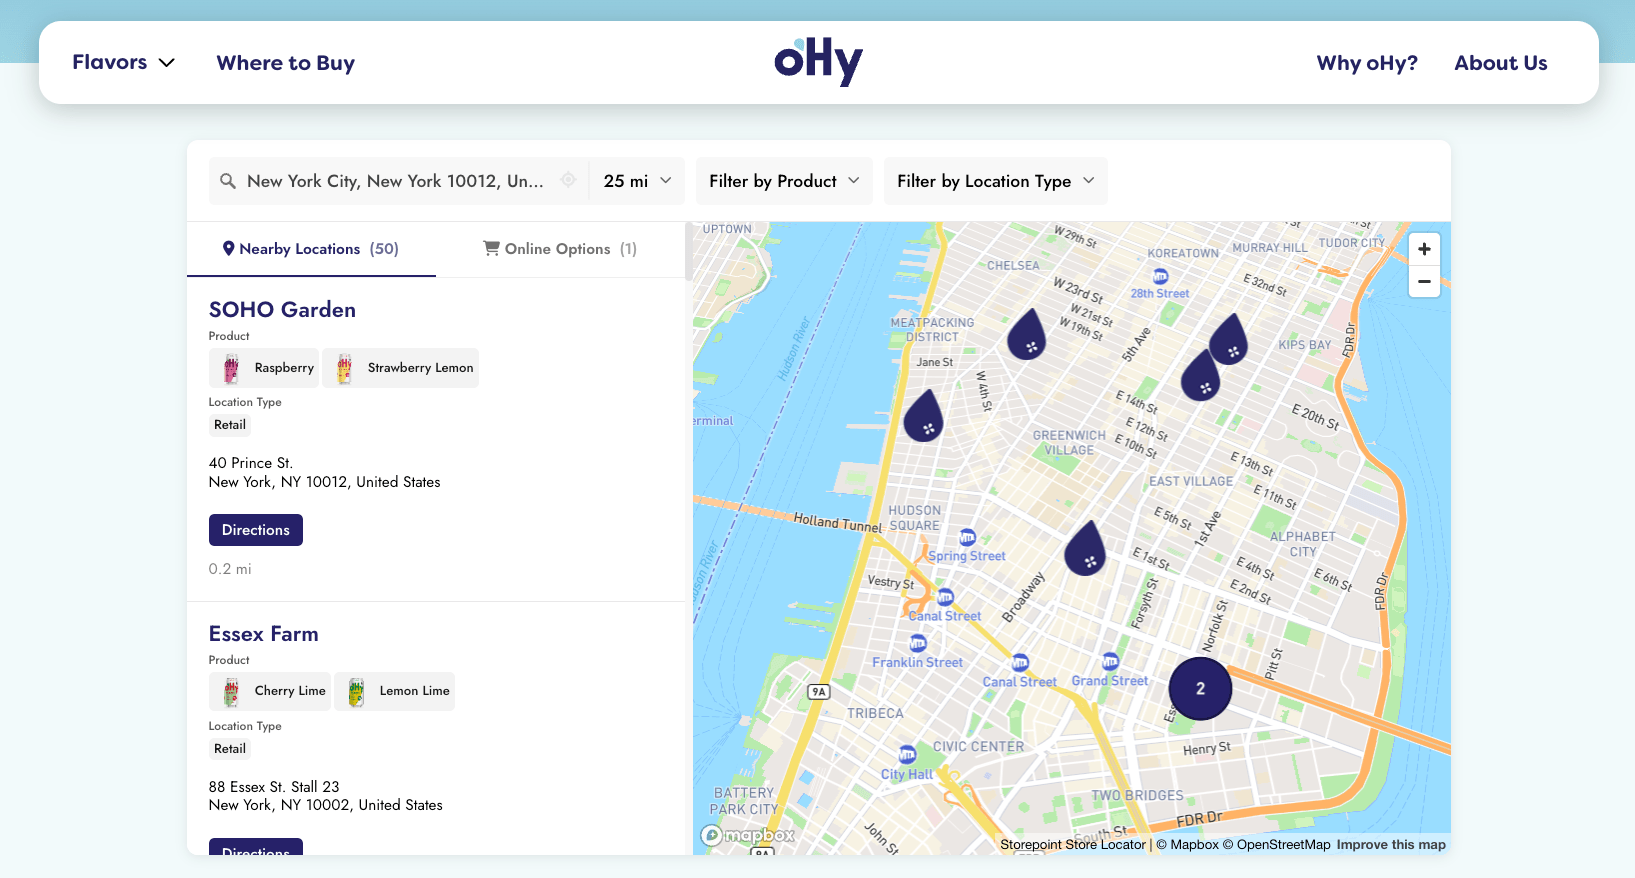
Start your free trial Explore the Wix store locator
Step 1: Set up your locator
- Create a Storepoint account and follow the prompts (you'll pick a map provider and a few basics), or log in if you already have one
- Add your locations: type them in, import a spreadsheet, or sync from Google Sheets
- Open Embed in the dashboard sidebar and copy your snippet
Step 2: Paste it into your Wix page
Open your site in either the Wix Editor or Wix Studio, and pick the page where the locator should live (or create a new "Find Us" or "Locations" page first).
In the Wix Editor
- Click + Add in the left toolbar, then Embed Code > Embed HTML
- Drag the element onto your page
- In the side panel, choose Code (not "Website Address") and paste your Storepoint snippet
- Click Update
In Wix Studio
- Click Add Elements in the left panel, then Embed & Social > HTML iframe
- Drag the element onto your page
- Click the element, choose Enter Code, and paste your Storepoint snippet
- Click Update
Step 3: Resize and publish
Wix gives embed elements a small default size. Stretch it to fit your section.
- Click the embed to select it
- Drag the corners until it's at least 600px tall and the full width of your section
- Click Publish in the top right
Open your live site and try a search.
Wix often shows embedded HTML as a placeholder while you're editing. Click Preview or open the published site to see the real locator.
That's the full setup. From here, your Wix setup is done.
Add a location or update any detail in your Storepoint dashboard, your live site reflects it within seconds. Your Wix page stays exactly as you built it.
Mobile sizing
Wix treats mobile as its own design layer rather than auto-shrinking your desktop site, so the embed needs a separate size check there.
- Switch to the Mobile Editor (phone icon in the top bar)
- Confirm the embed element is visible on the page
- Resize it to fill the mobile width and at least 500px tall
- Publish again
The locator inside is fully responsive, but Wix's outer container is what you size here.
Match your design
Style it yourself from the dashboard: map style, marker pins, colors, button shapes, layout. Of course, full CSS access stays open if your designer wants to fine-tune.
Send us your Wix site link and our team matches the locator to your design. Fonts, colors, button shapes, layout, the lot. Included free on every plan. See examples →
Common questions
Does this work in both the Wix Editor and Wix Studio? Yup! Both products use the same HTML iframe element. The steps above cover the slightly different button names in each one.
Do I need to know Velo or write any code? No. Pasting your Storepoint snippet into the HTML iframe element is the same flow Wix uses for a YouTube video or Calendly form.
Do I need to republish my Wix site to update locations? No. Once the embed is live, every location edit you make in the Storepoint dashboard appears on your site within seconds. Republish only when you change the Wix page layout itself.
Running Wix Multilingual? Add your translations in Phrases in your Storepoint dashboard. The locator shows the right language for each visitor automatically. Same embed, no extra setup. More on translations →
Stuck on something?
Email us at [email protected] with a link to your Wix page. We're a small team and we read every message ourselves. Reply usually comes within a couple of hours.
What to explore next
- Filters and tags so visitors can narrow by service, brand, or category
- Map styles and custom pins from the dashboard
- Custom CSS for total control
- Embed options for filtered or multilingual locators
- Store locator examples for inspiration